- Ajouter un déclencheur qui se lance tout seul
- Activer le workflow
- Le lancer sans ouvrir le canevas
- Retrouver l'exécution dans l'onglet Exécutions
Jusqu’ici, vous démarriez les workflows avec Tester le workflow. Une automatisation démarre toute seule : quand vous appuyez sur un raccourci, à une heure donnée, quand une page se charge, ou depuis le menu du clic droit. Ces déclencheurs n’écoutent que lorsque le workflow est actif.
Ajouter le déclencheur
Section intitulée « Ajouter le déclencheur »Étape 1 : Ajouter un déclencheur Raccourci clavier
Ouvrez Summarise this page. Cliquez sur Ajouter une étape (le + de la barre d’outils du canevas), cherchez Raccourci clavier et ajoutez-le. Faites ensuite glisser le point à droite de Raccourci clavier jusqu’au bord gauche de Obtenir tout le texte, pour que les deux déclencheurs mènent aux mêmes étapes.
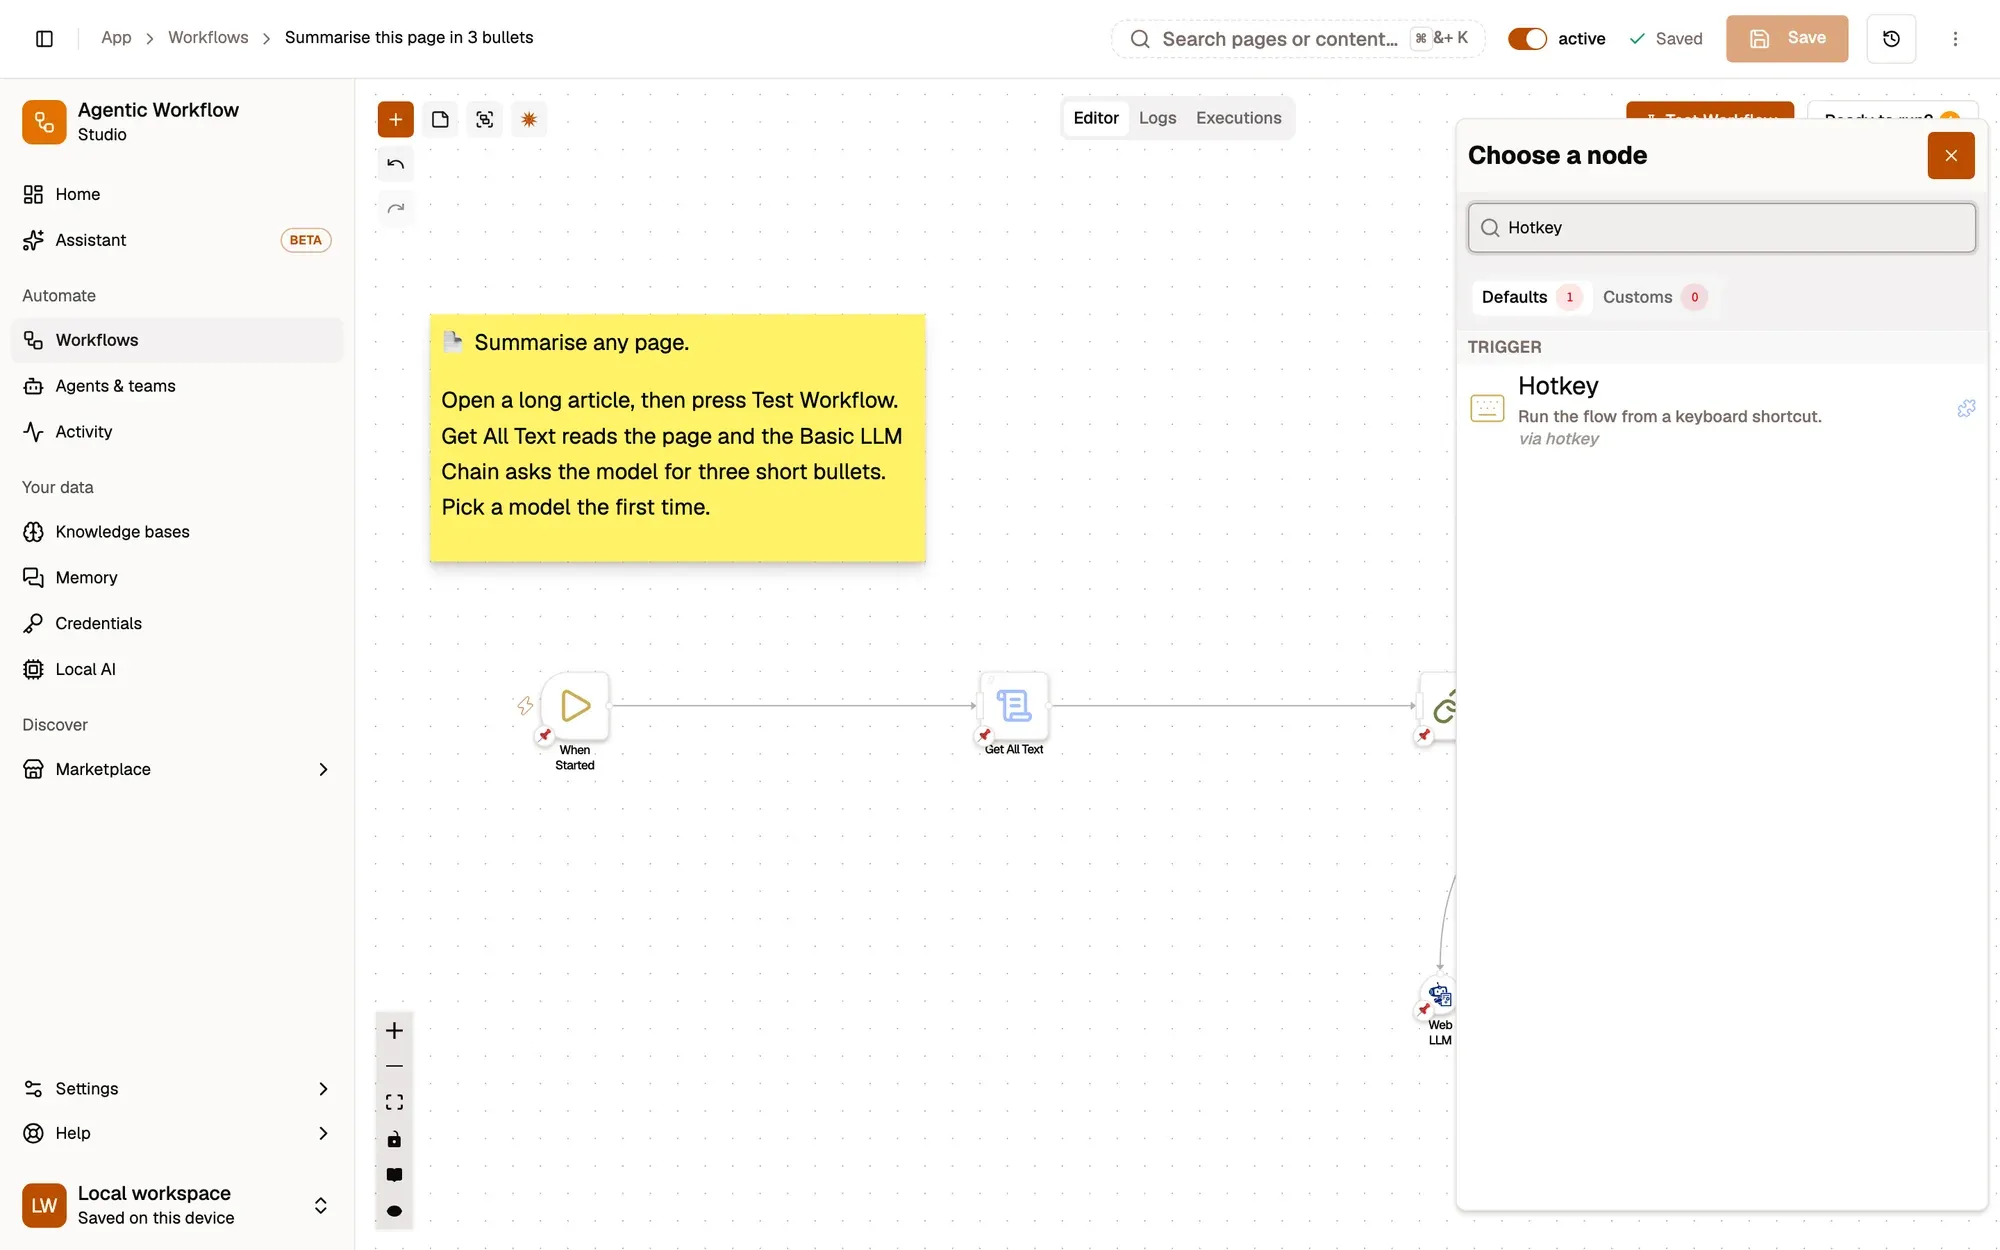
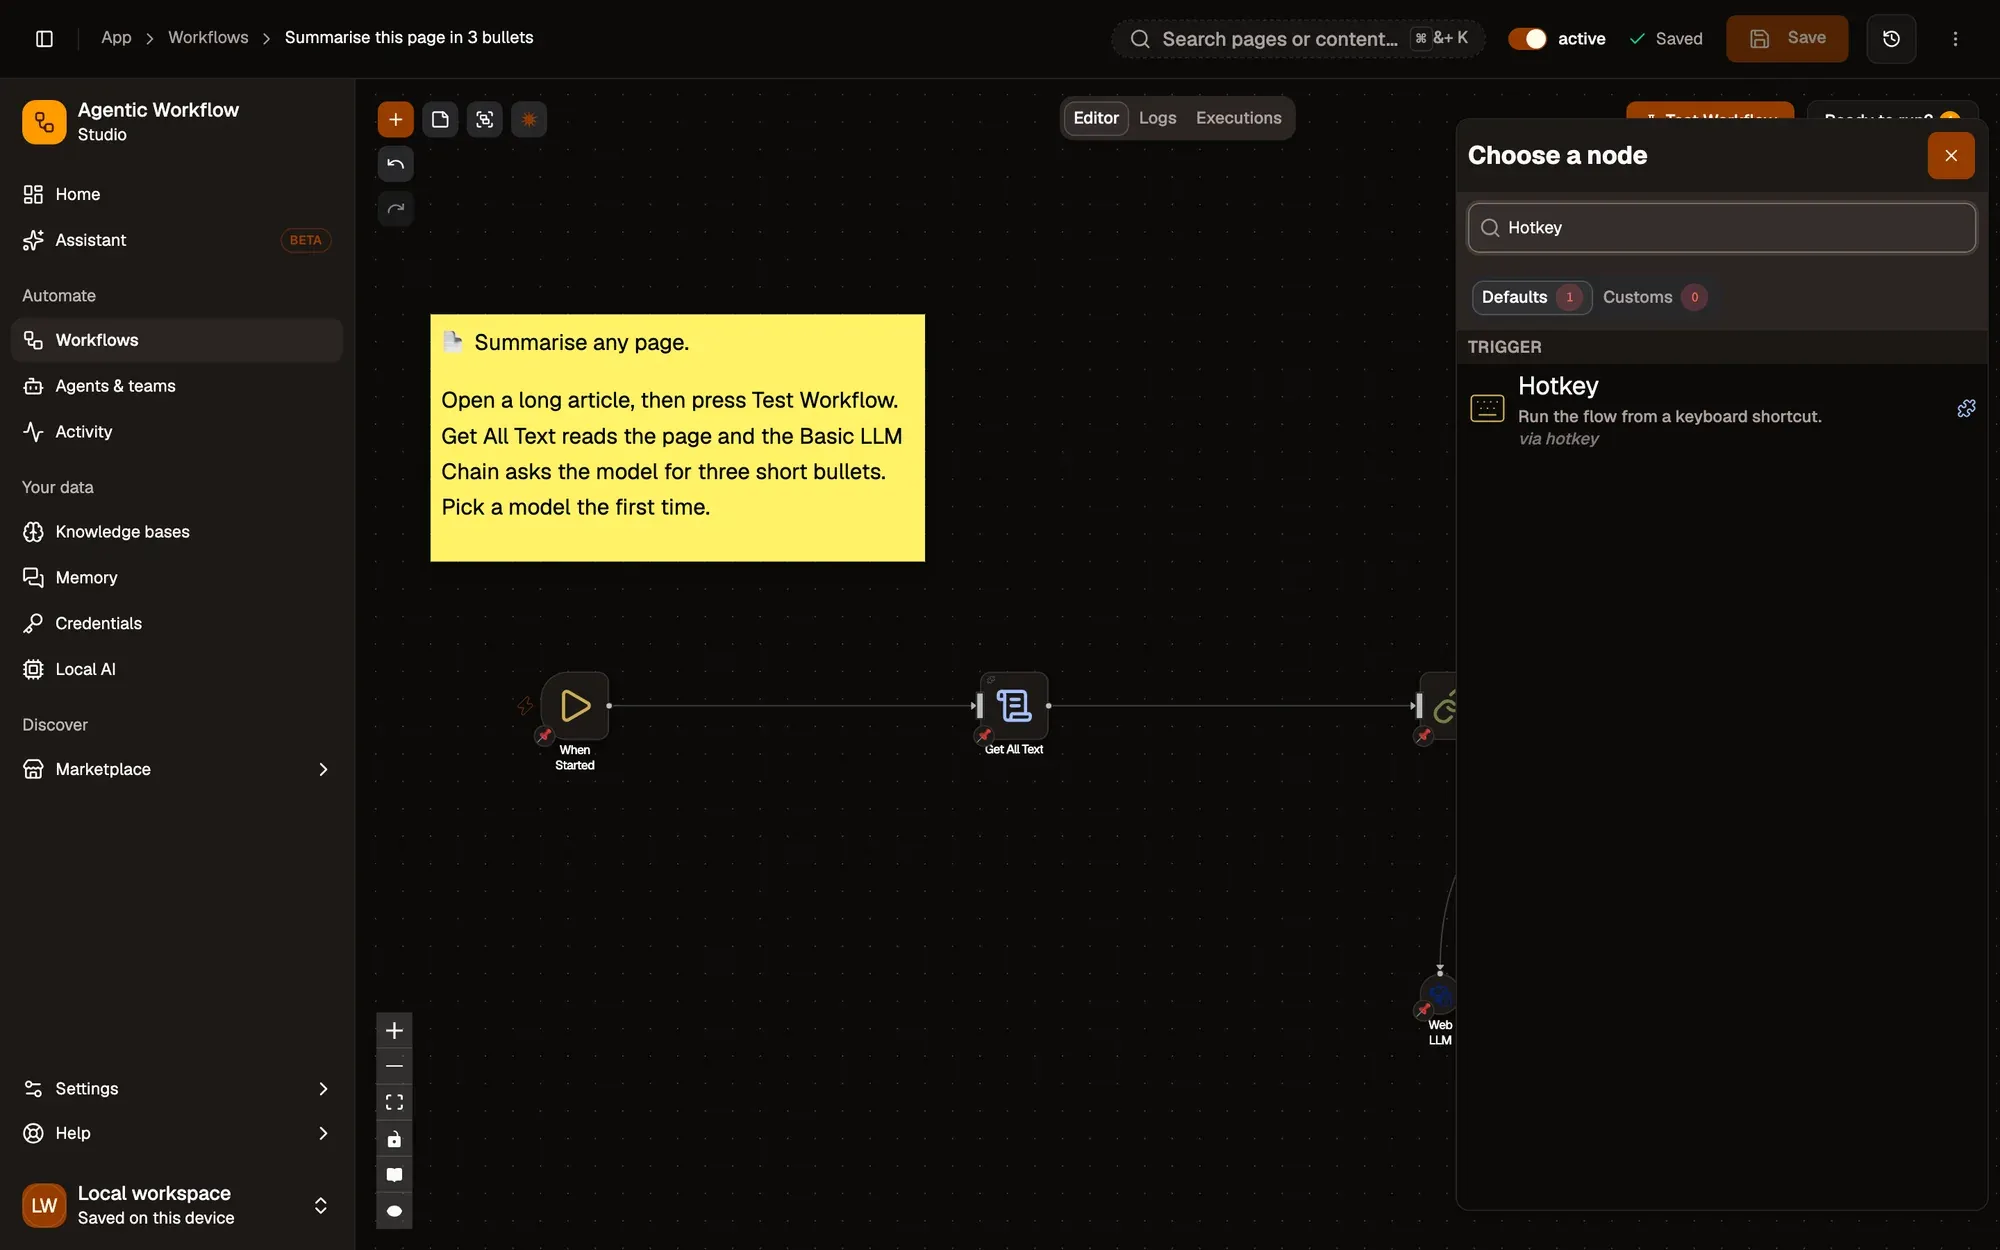
Vérification : un nœud Raccourci clavier est sur le canevas, relié à Obtenir tout le texte.
Étape 2 : Choisir un emplacement de raccourci
Double-cliquez sur Raccourci clavier pour ouvrir ses paramètres et laissez Emplacement de raccourci sur le premier emplacement, run-workflow-1 (Emplacement de raccourci 1). L’emplacement 1 est fourni avec Ctrl + Shift + 1 (⌘ + Shift + 1 sur Mac). Les navigateurs ne permettent pas aux extensions d’ajouter un raccourci par workflow, vous choisissez donc les touches de chaque emplacement dans le navigateur :
- Chrome, Edge, Brave : ouvrez
chrome://extensions/shortcuts. - Firefox : ouvrez
about:addons, cliquez sur le menu en forme de roue dentée, puis sur Gérer les raccourcis des extensions.
Trouvez Agentic Workflow. Si l’emplacement 1 n’affiche aucune touche (une autre extension les utilise déjà), saisissez votre propre combinaison.
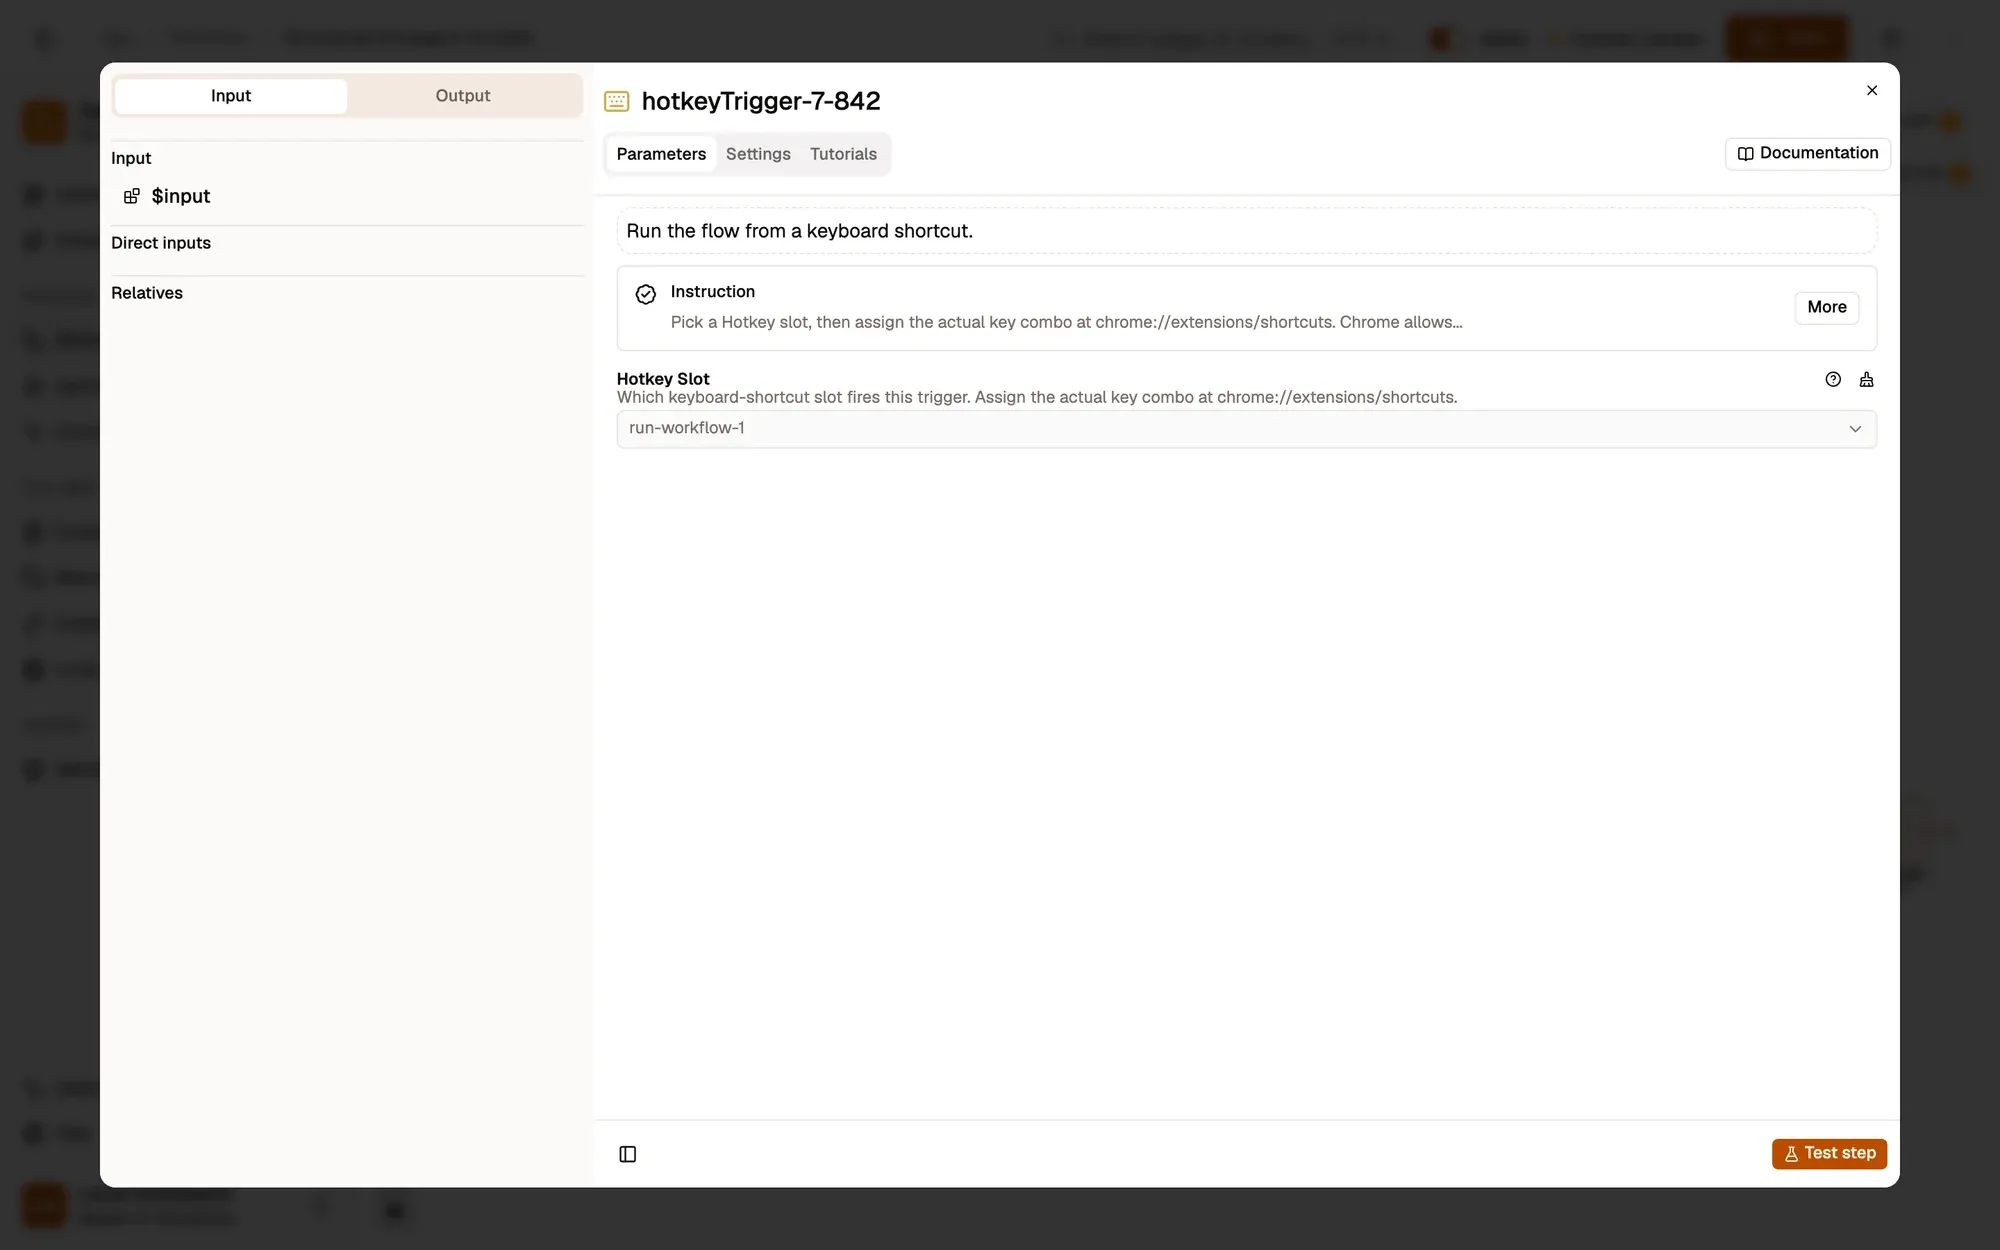
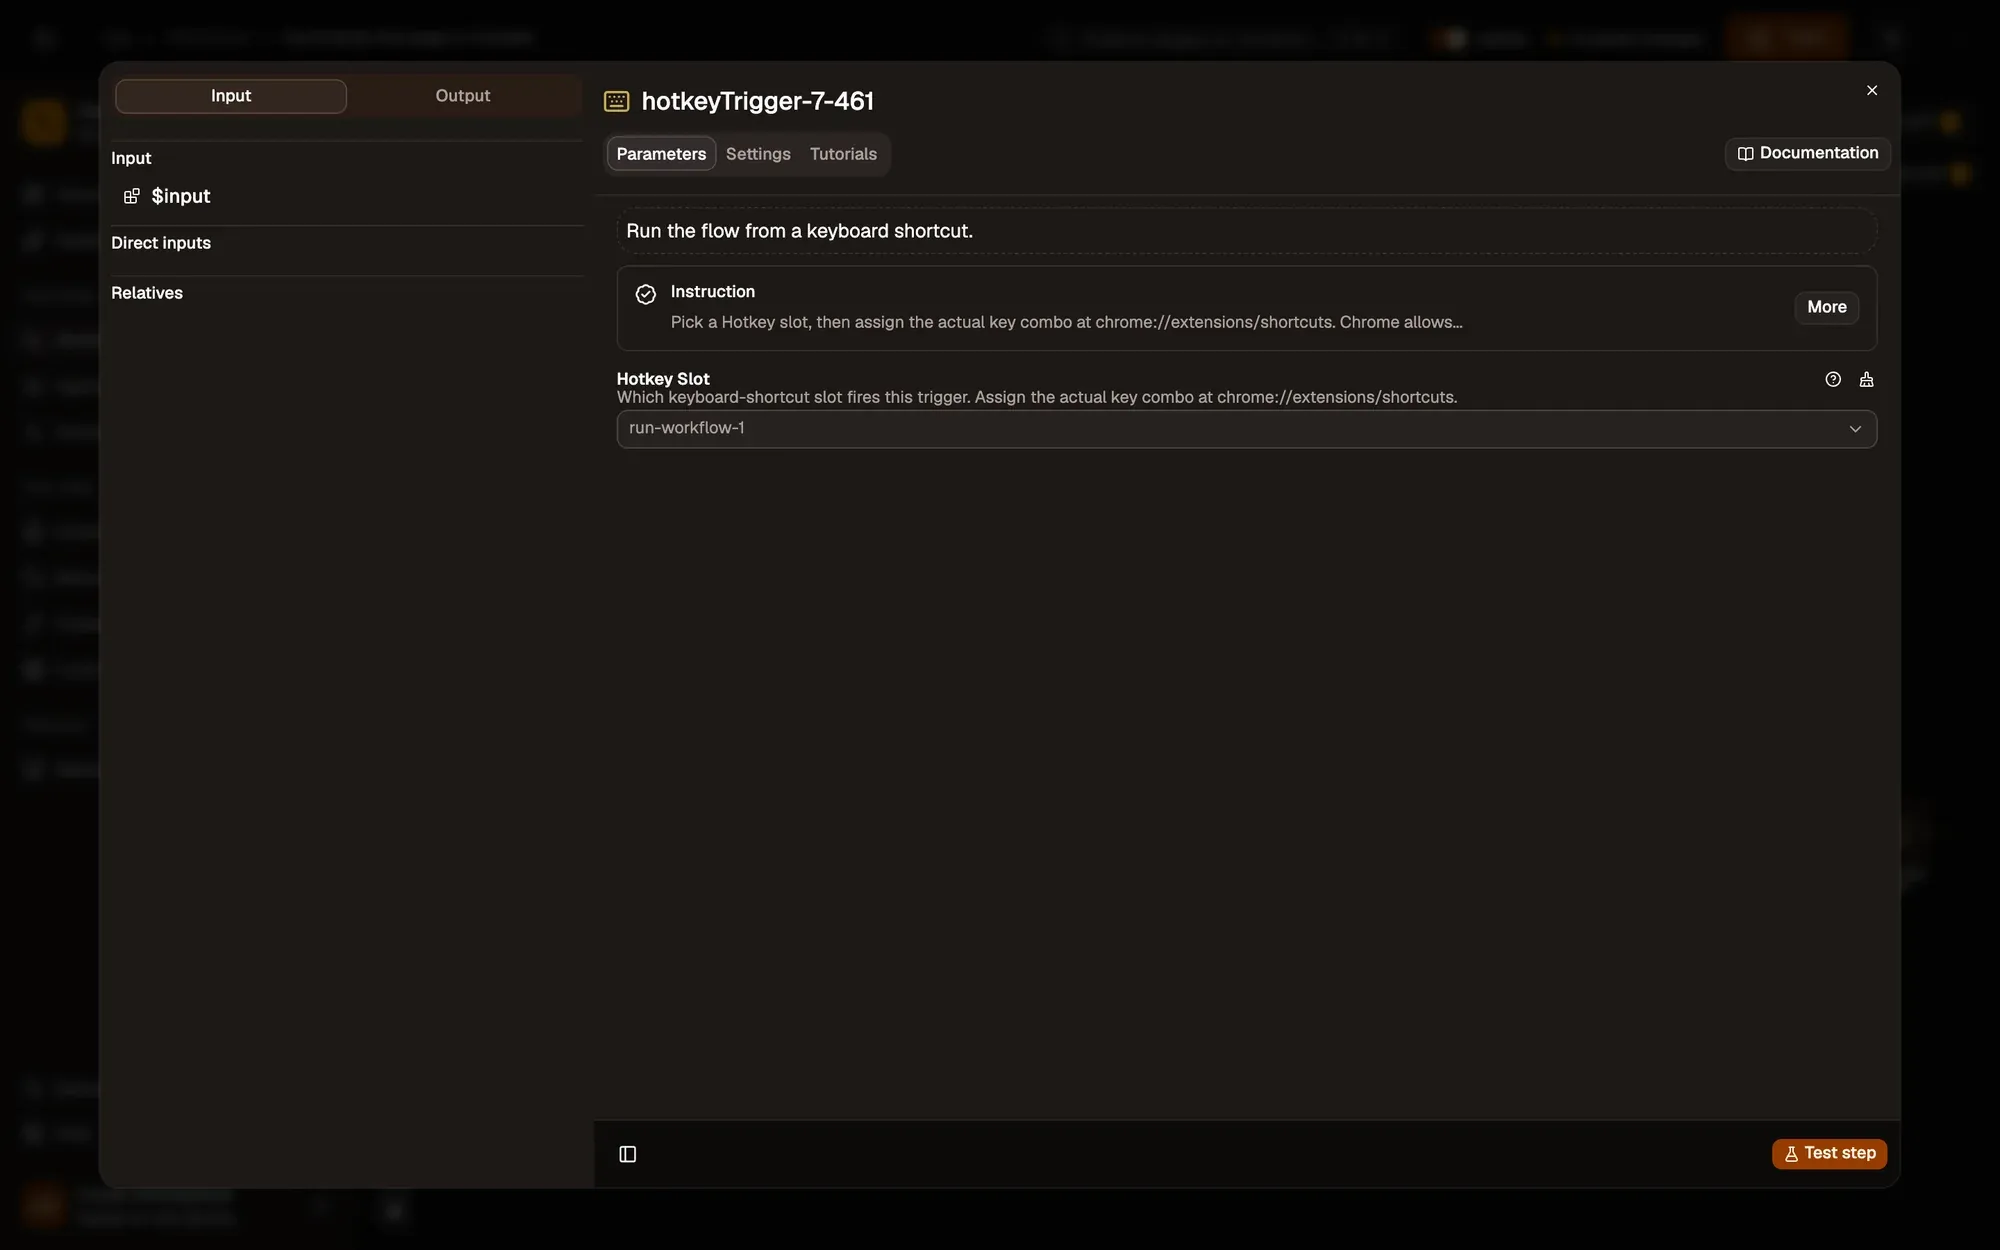
Vérification : la page des raccourcis du navigateur liste « Run workflow bound to Hotkey slot 1 » avec une combinaison de touches.
Étape 1 : Ajouter un déclencheur Planification
Ouvrez le workflow que vous voulez lancer avec une minuterie. Cliquez sur Ajouter une étape (le + de la barre d’outils du canevas), cherchez Planification et ajoutez-la, puis faites glisser son point de droite jusqu’à votre première étape.
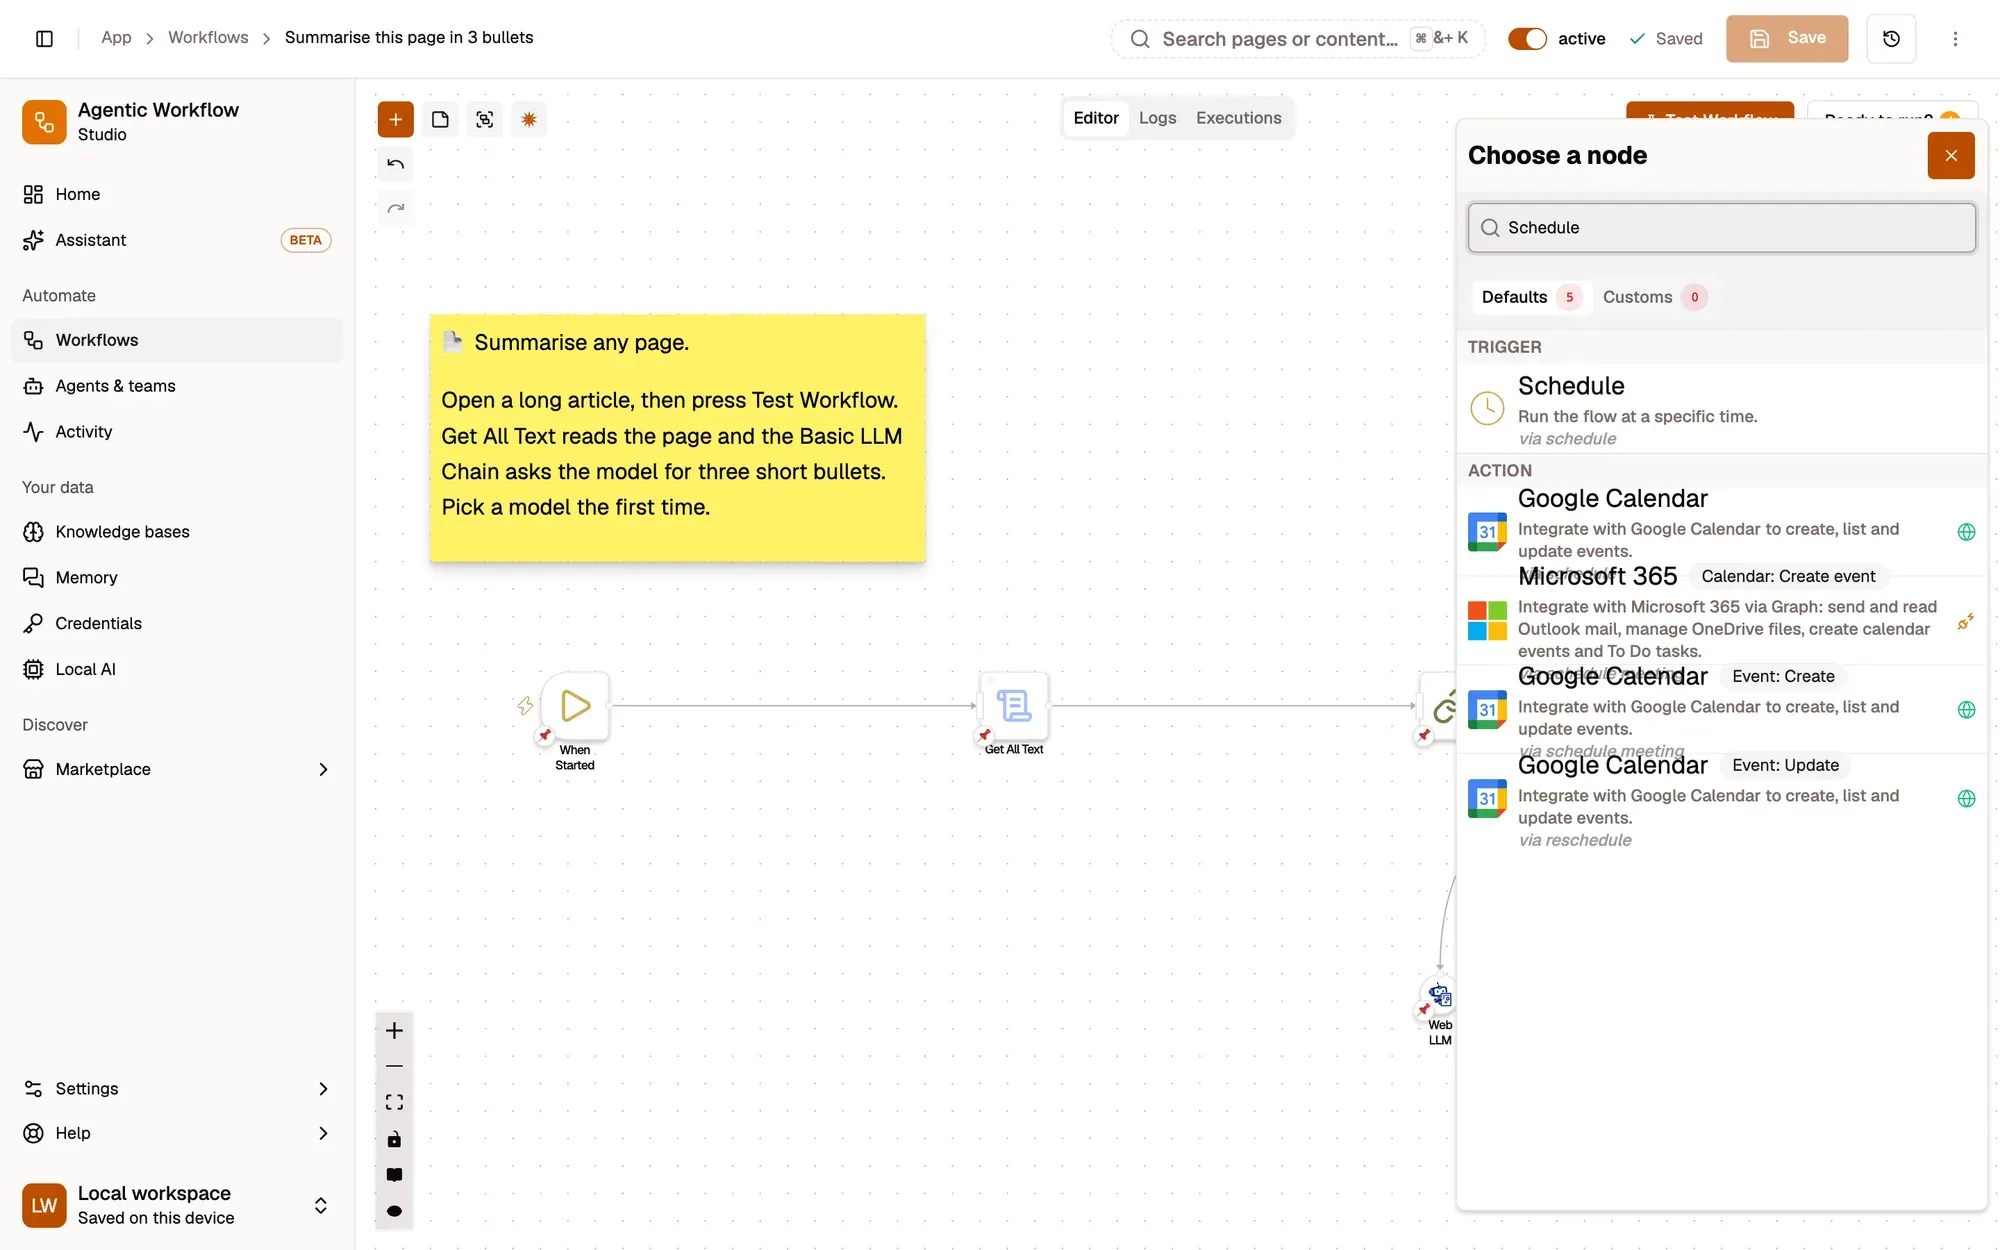
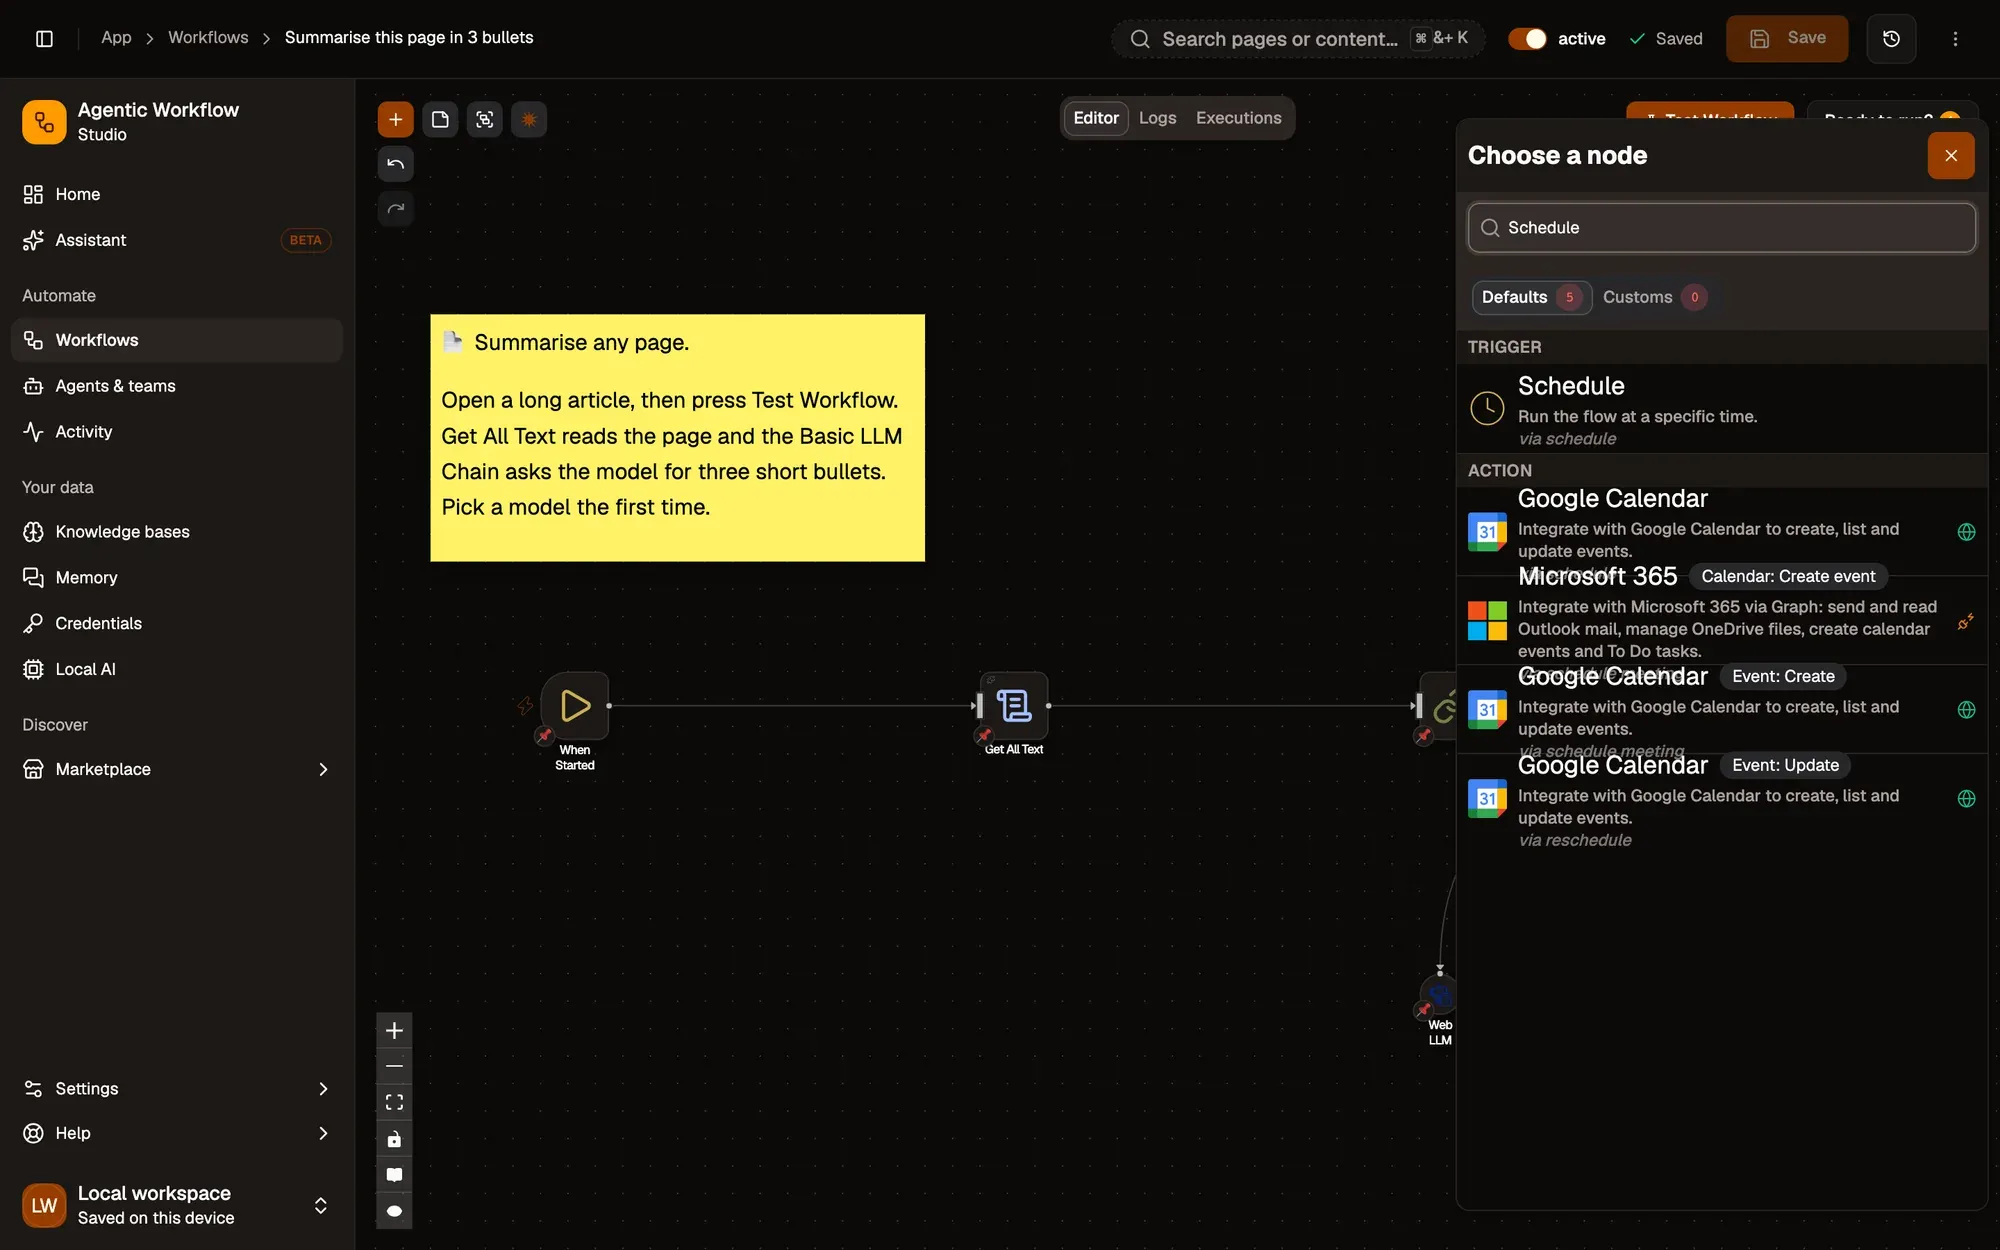
Vérification : un nœud Planification est sur le canevas, relié à la première étape.
Étape 2 : Définir la fréquence
Double-cliquez sur Planification pour ouvrir ses paramètres. Sous Règles, cliquez sur Ajouter, puis définissez Trigger Interval sur hours et Hours Between Triggers sur 1, ou sur days avec un Trigger at Hour. Une planification convient surtout aux workflows qui ne dépendent pas de l’onglet que vous regardez, comme la vérification d’une page avec une requête HTTP. Le navigateur doit être ouvert pour qu’elle se déclenche. Voir Schedule.
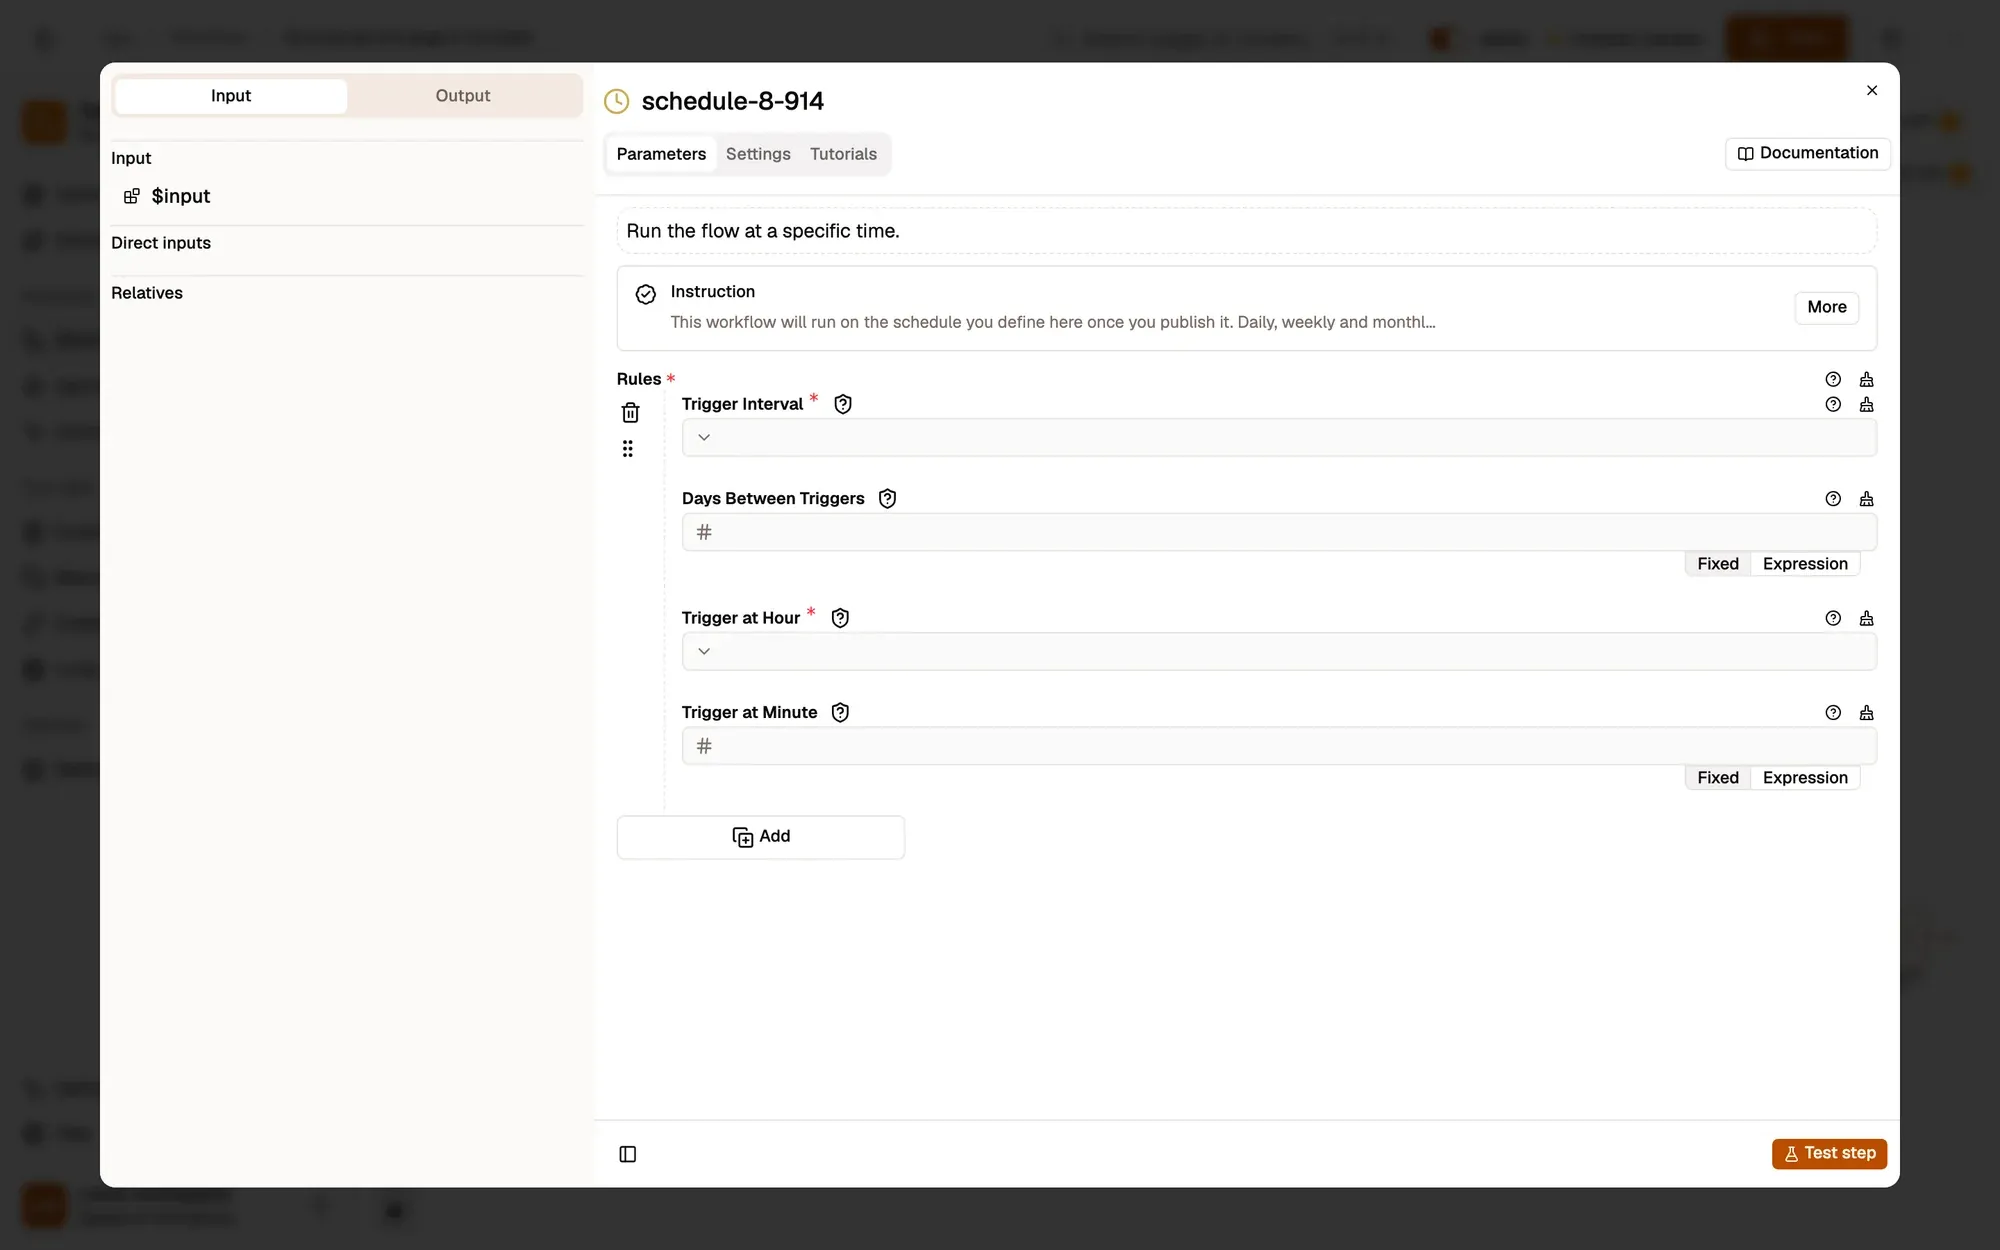
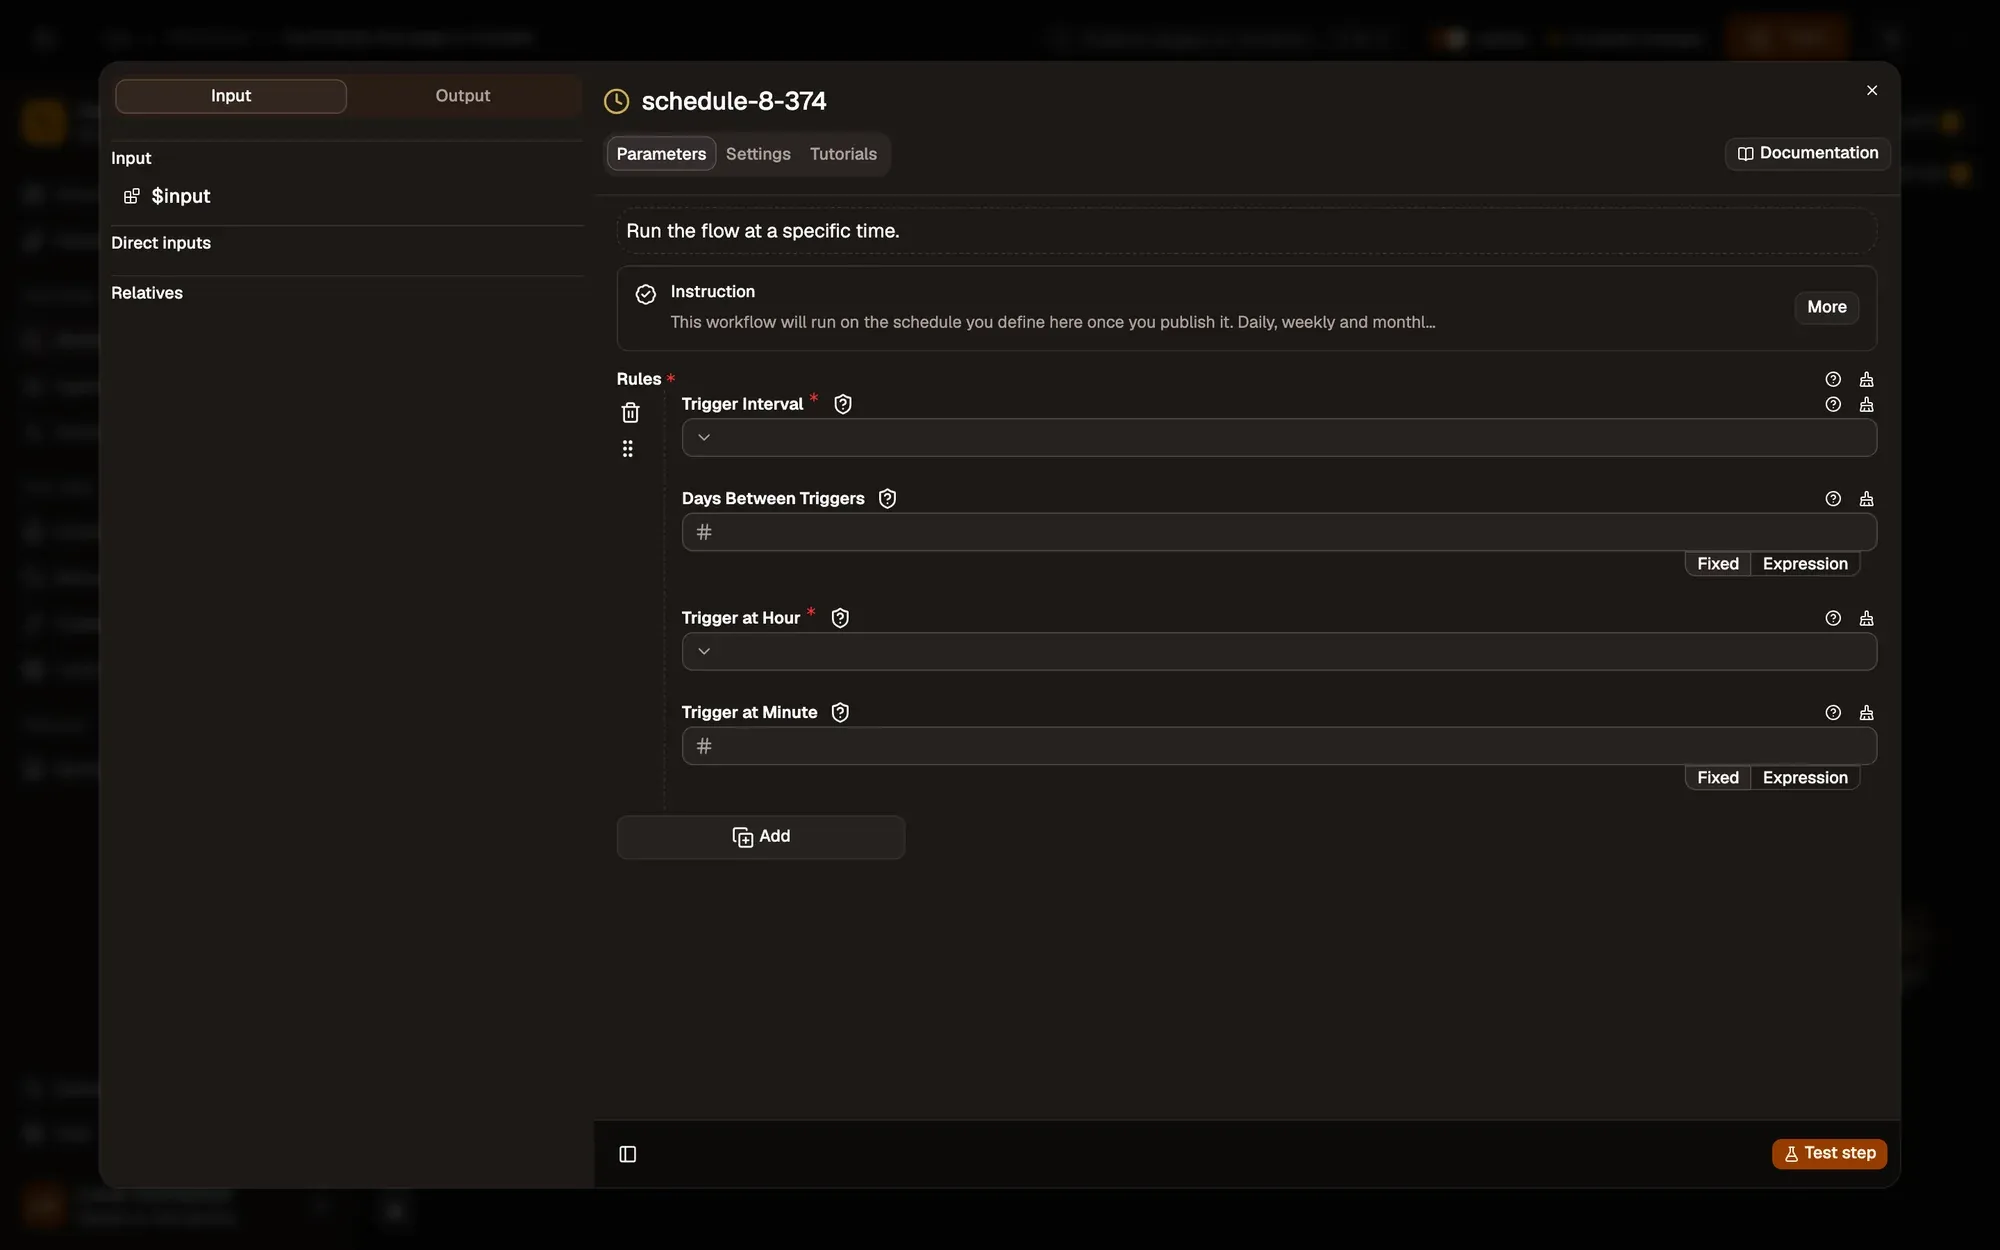
Vérification : le nœud Planification affiche votre intervalle.
Activer et lancer
Section intitulée « Activer et lancer »Étape 3 : Enregistrer et activer
Cliquez sur Enregistrer. Vérifiez ensuite l’interrupteur à côté du nom du workflow dans l’en-tête du canevas : il doit indiquer Actif. S’il indique Inactif, activez-le. Vous pouvez aussi choisir Activer dans le menu ⋯ du workflow, dans la liste Workflows.
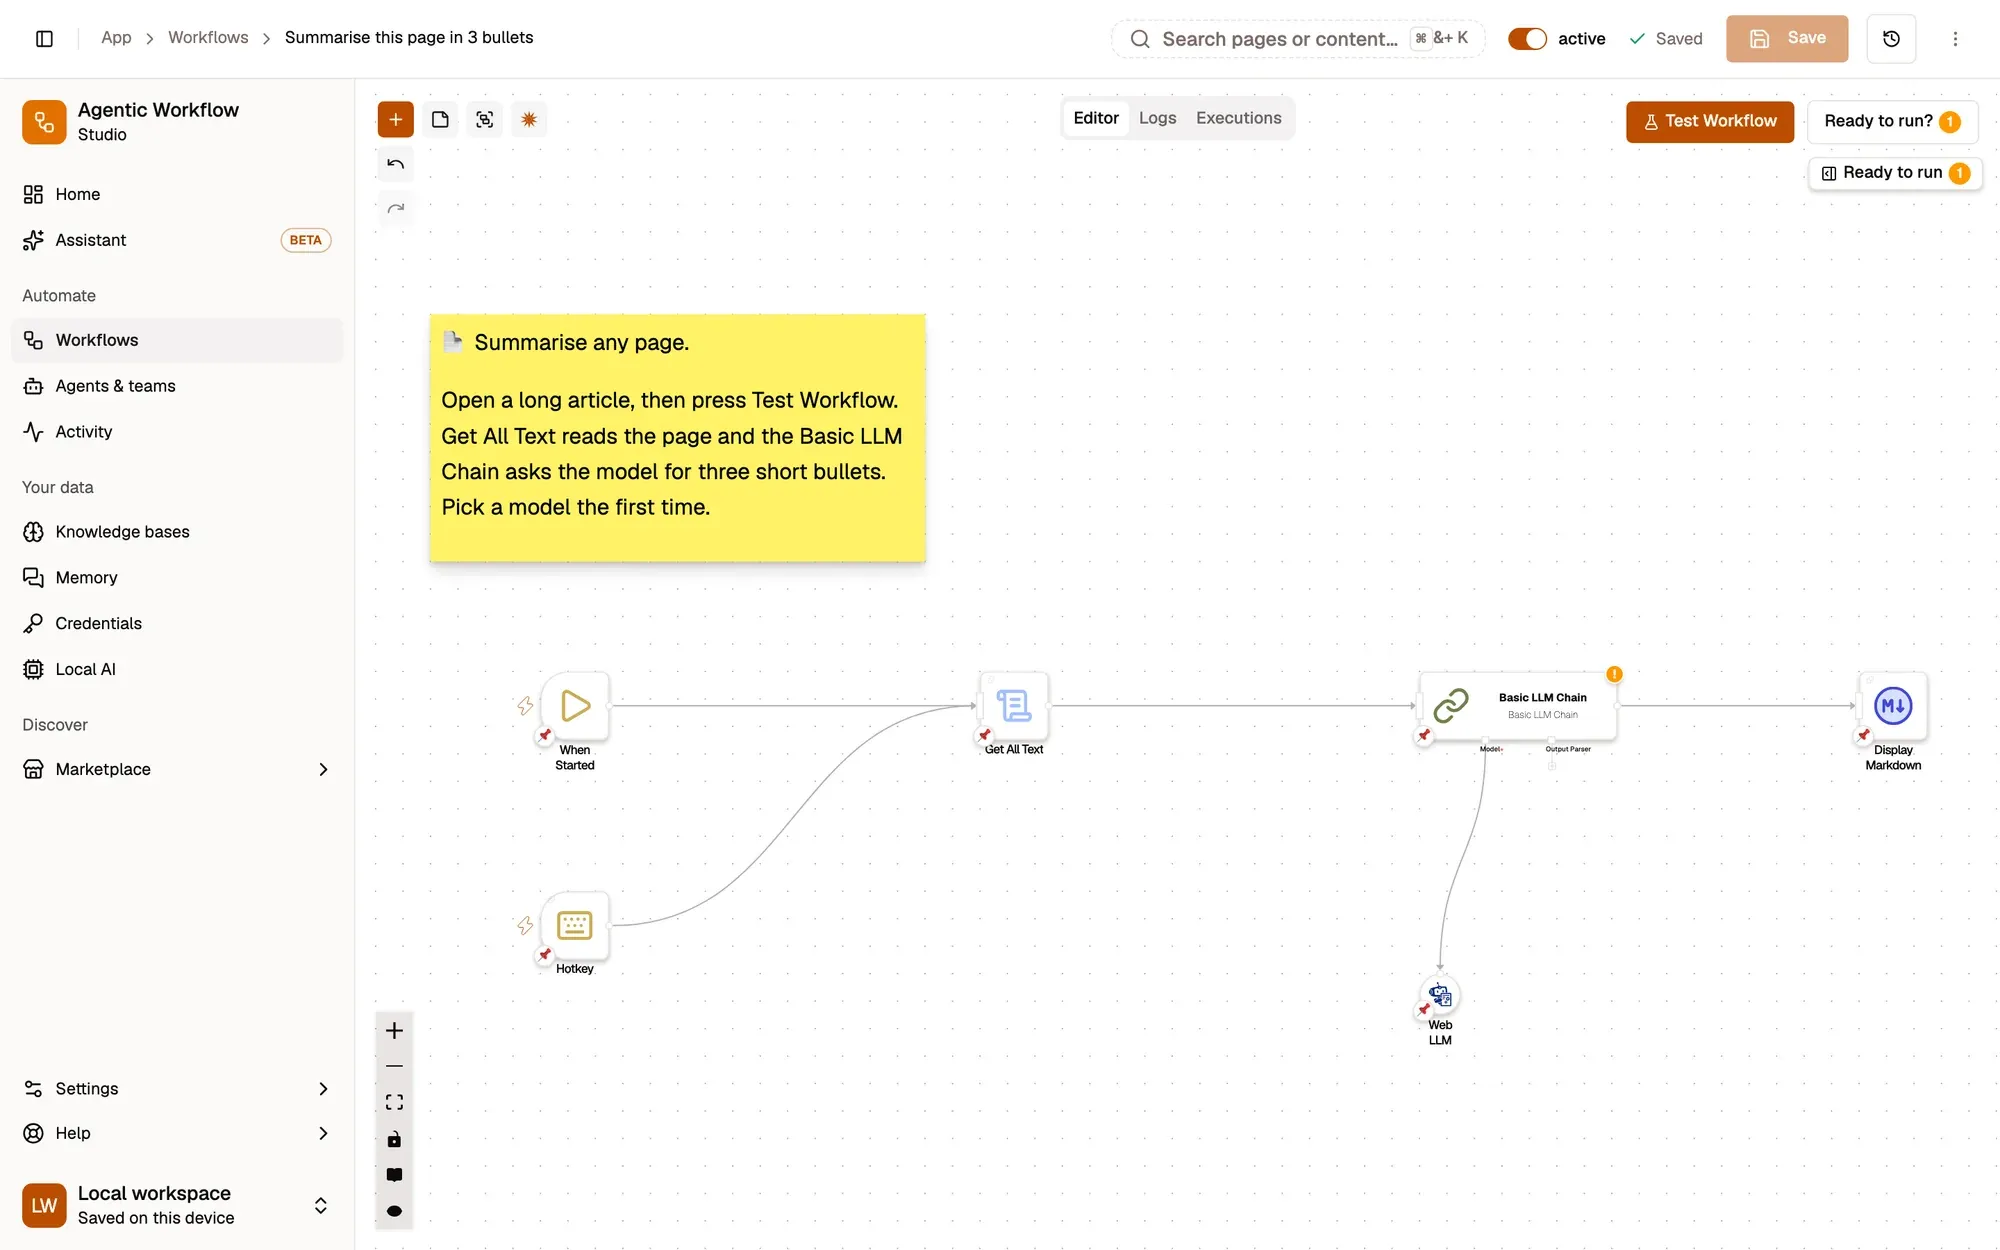
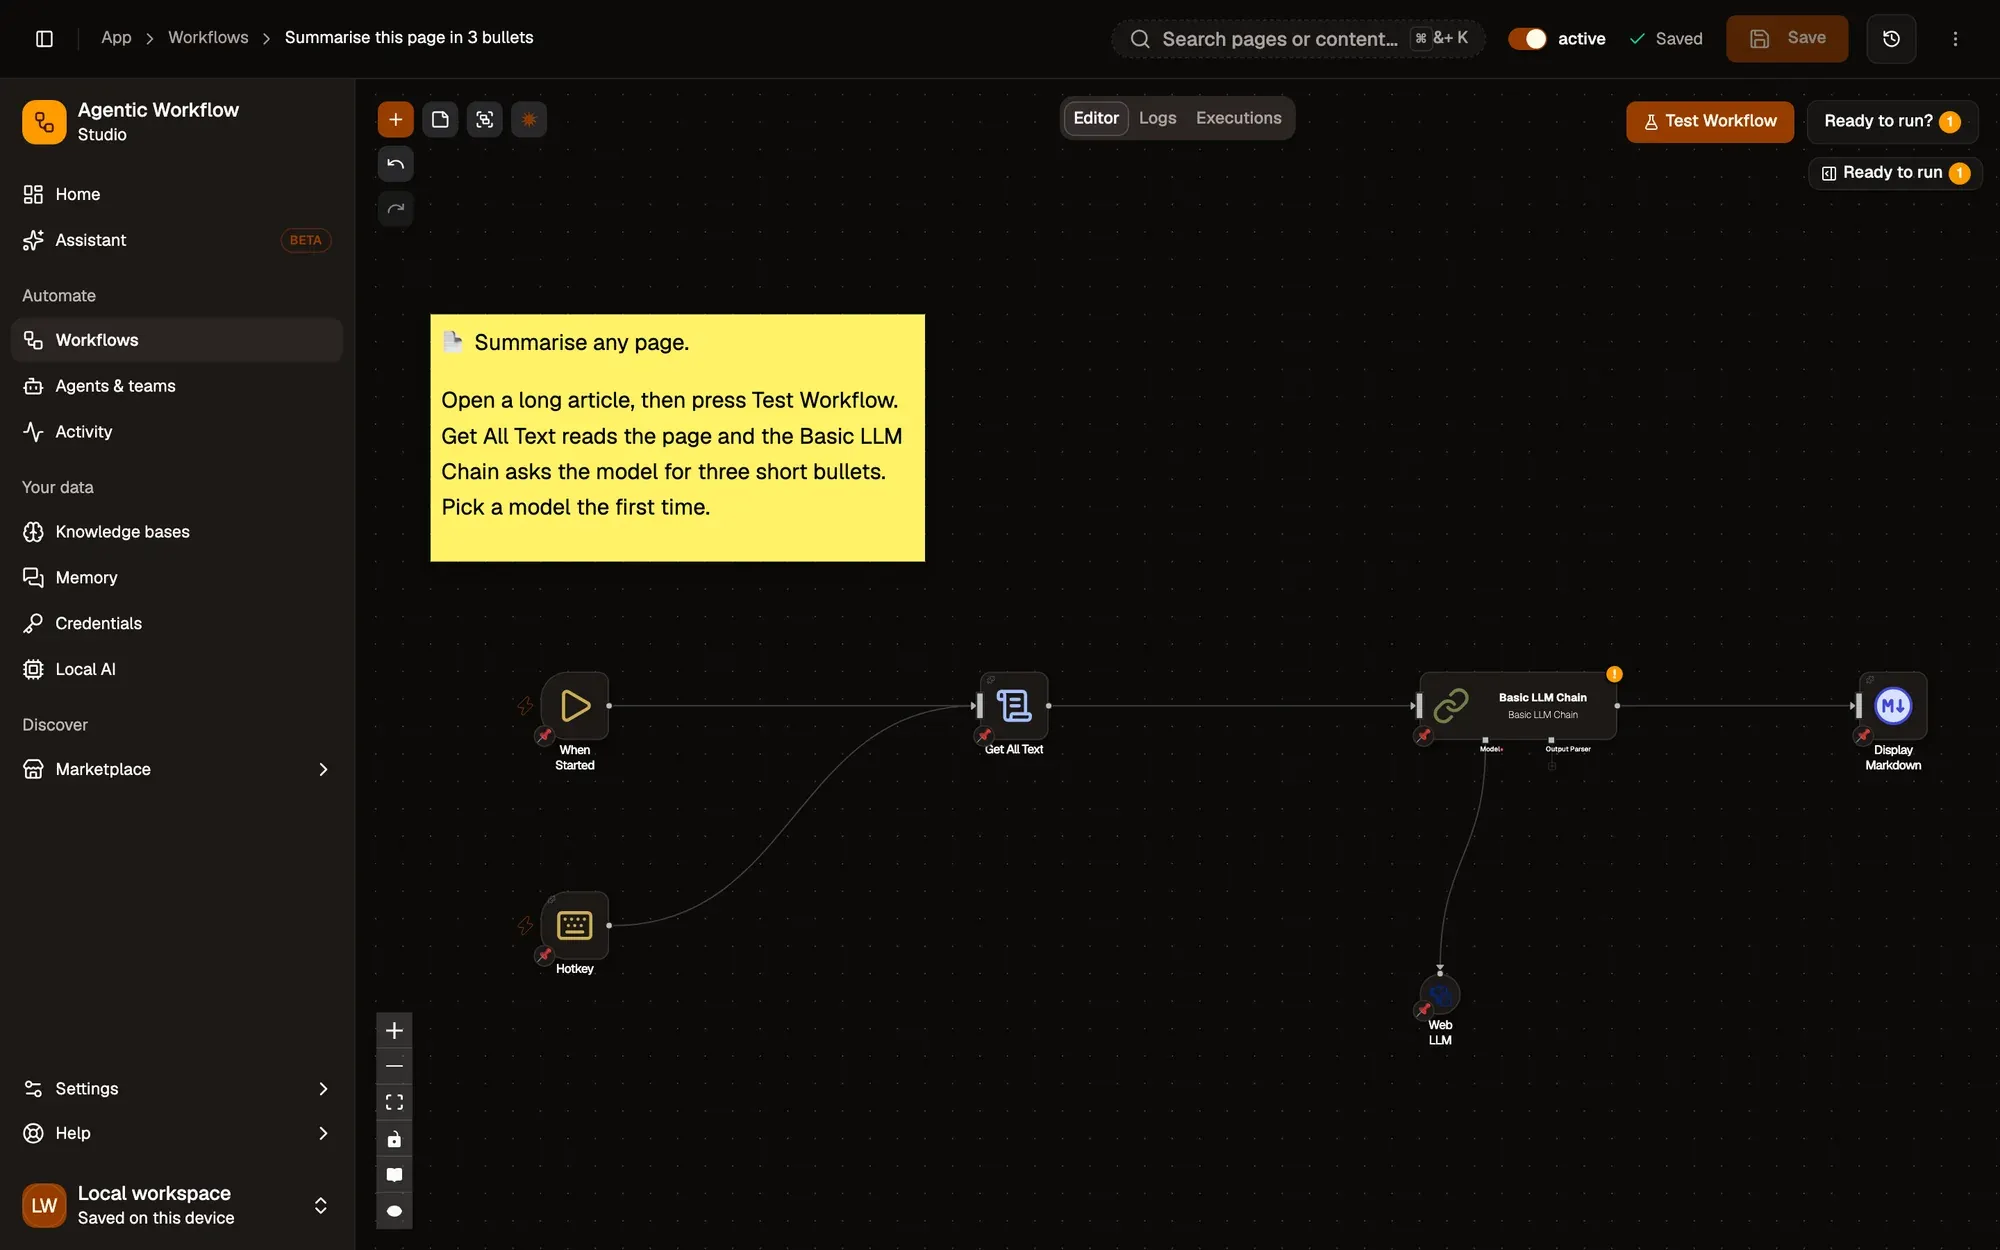
Vérification : l'interrupteur de l'en-tête du canevas indique Actif.
Étape 4 : Le déclencher
Passez à un onglet contenant un article et appuyez sur votre raccourci. (Avec une planification, attendez le prochain intervalle.) Vous pouvez d’abord fermer le canevas : les workflows actifs s’exécutent en arrière-plan.
Vérification : le Page summary avec trois points clés apparaît, sans toucher au canevas.
Étape 5 : Consulter ses exécutions
Ouvrez le workflow et cliquez sur l’onglet Exécutions en haut (il porte le même nom dans un panneau étroit). Chaque exécution est listée avec son statut, son heure de début et sa durée. Cliquez sur une exécution pour voir ce que chaque étape a produit. Voir Historique des exécutions.
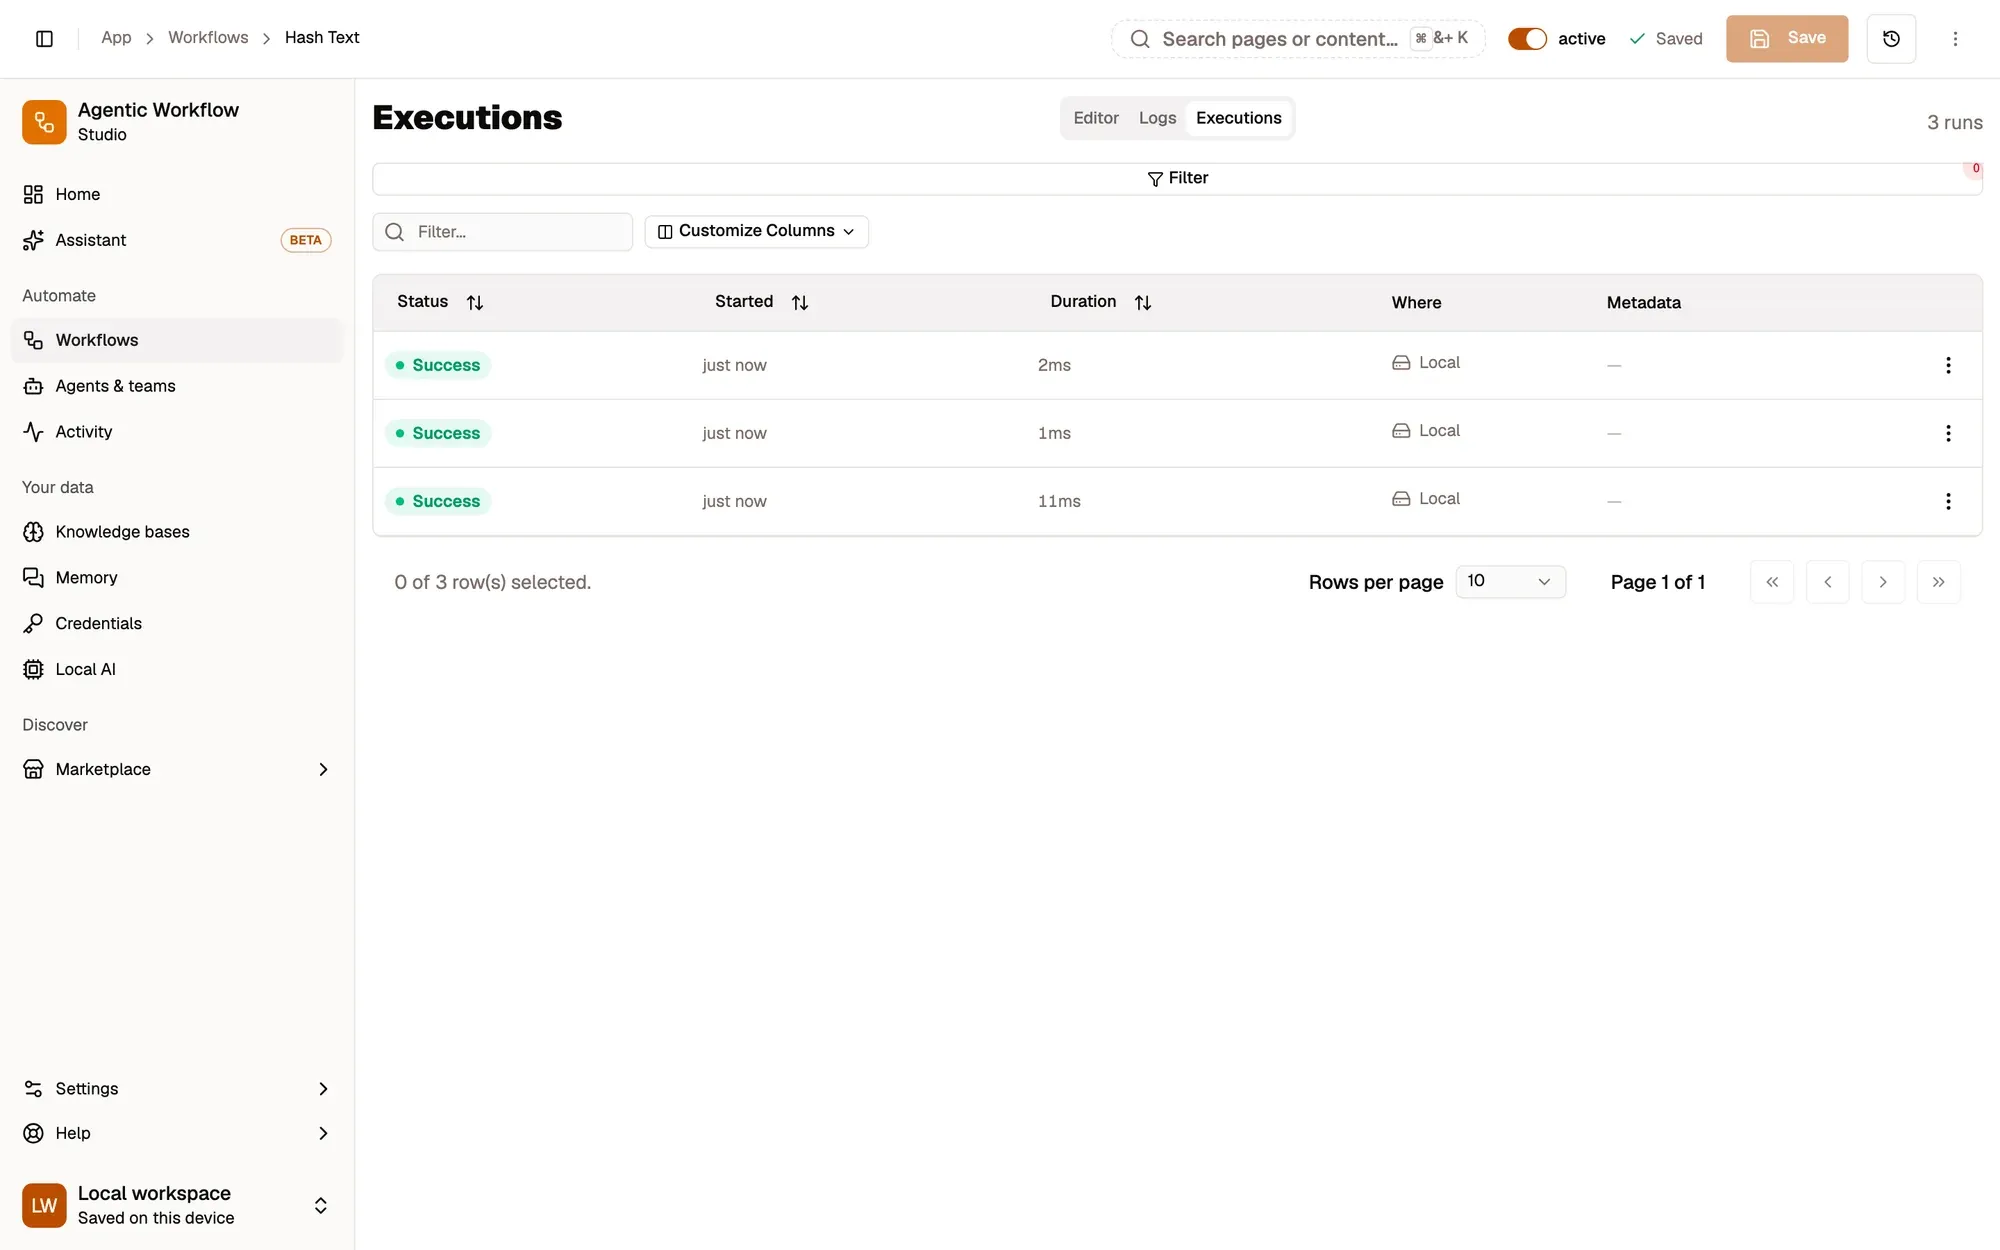
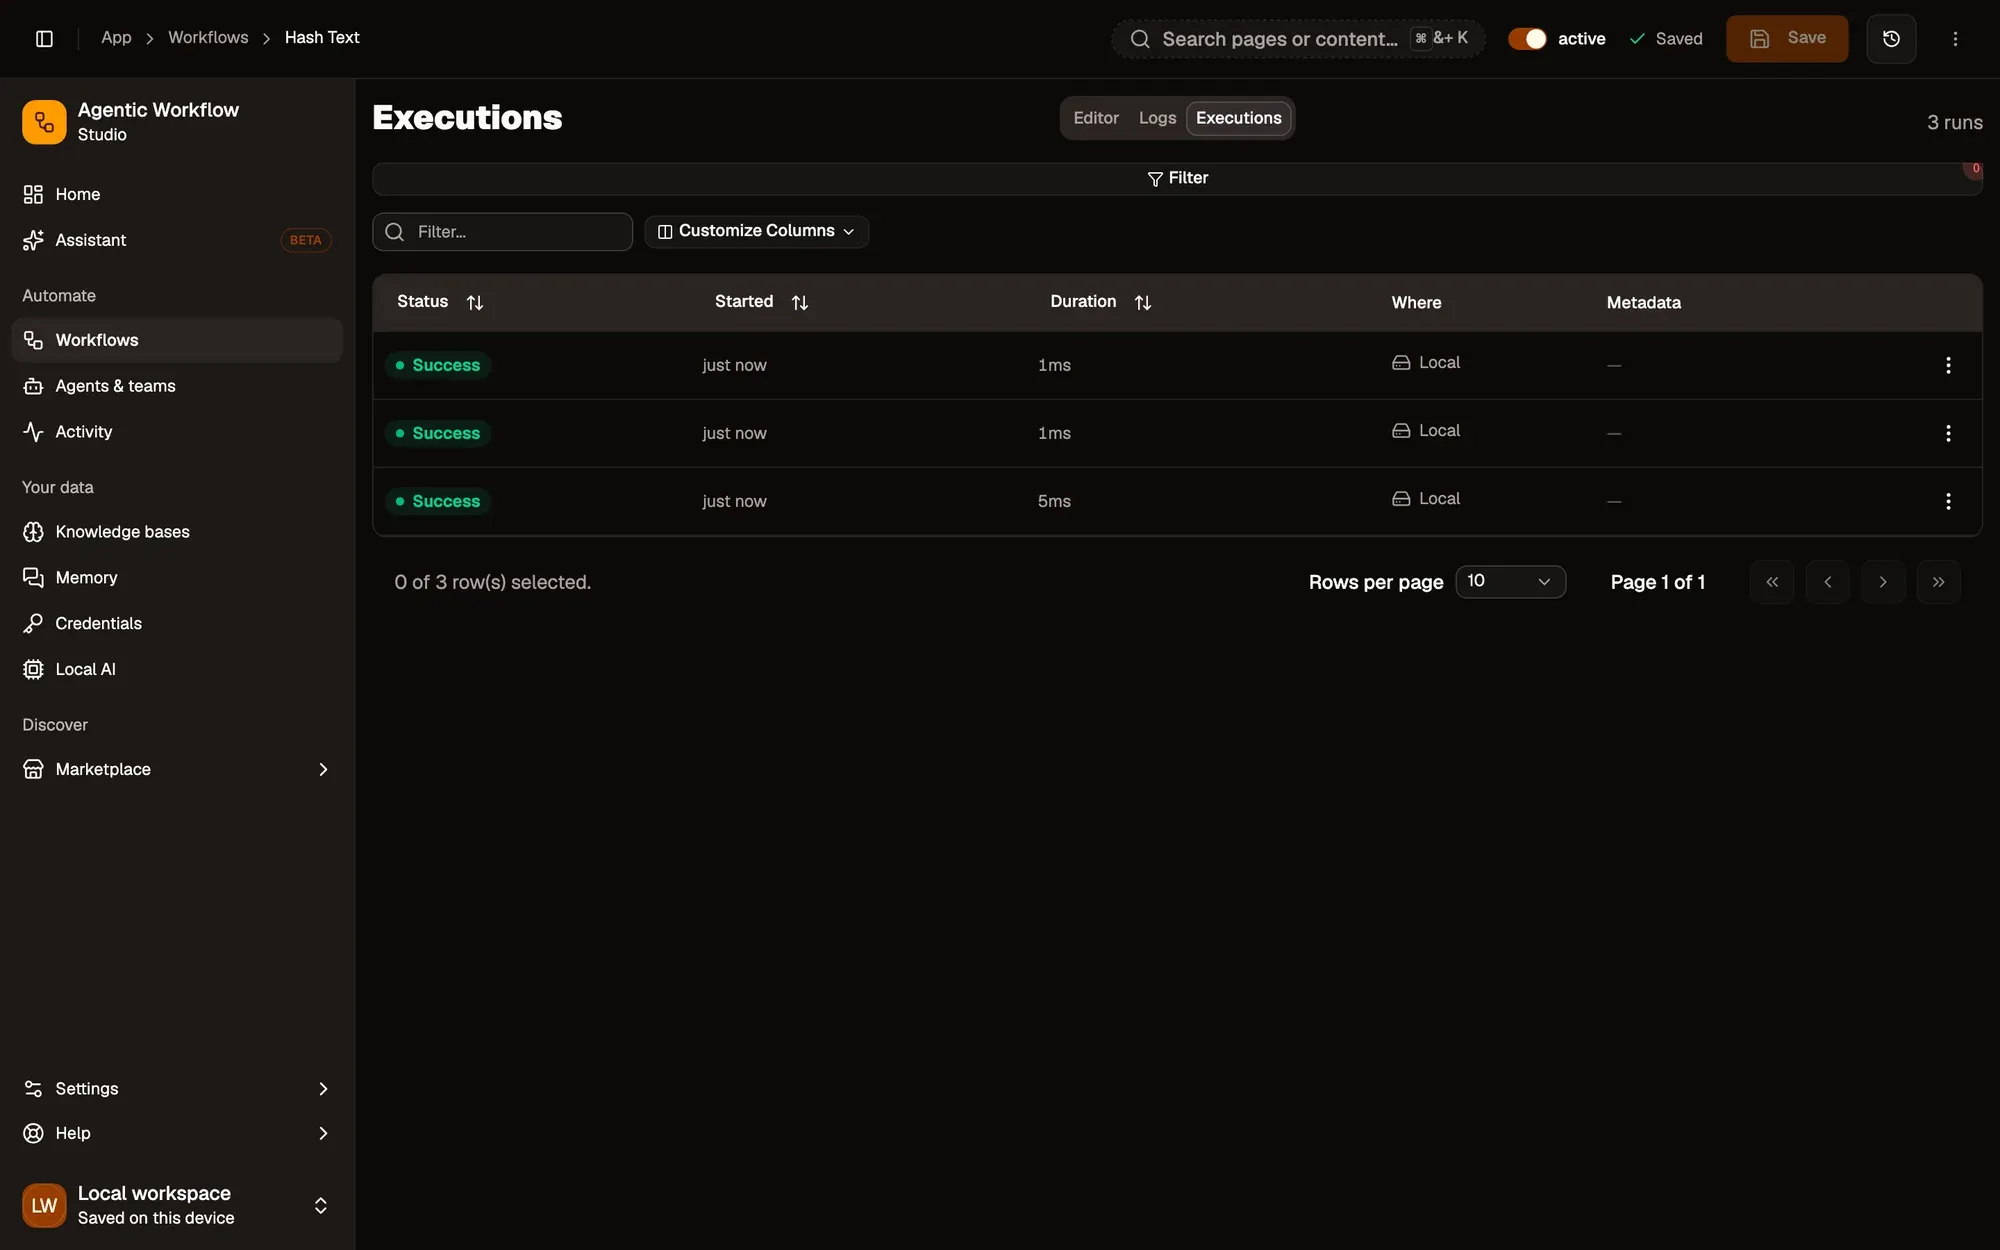
Vérification : la ligne la plus récente indique Success, démarrée il y a quelques secondes.
Autres façons de démarrer un workflow
Section intitulée « Autres façons de démarrer un workflow »- Menu contextuel : clic droit sur une sélection, un lien ou une page.
- Chargement de page : chaque fois qu’une page correspondant à un motif d’URL se charge.
- Changement d’élément : quand quelque chose change sur une page, comme un prix.